
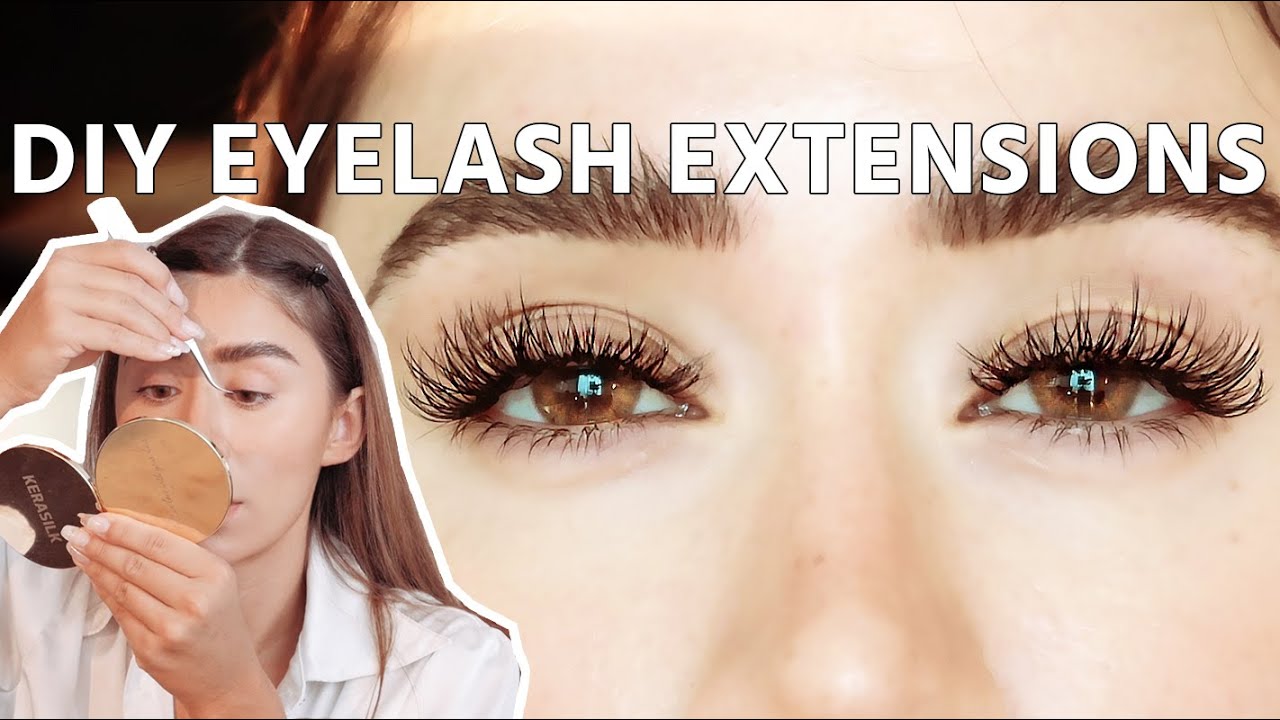
1. Introduction: The Rise of DIY Eyelash Extensions
In the age of self-care and beauty from home, at-home eyelash extensions are taking center stage. With the right products and a little practice, you can achieve professional-looking lashes on your own terms. No more expensive salon visits, time-consuming appointments, or compromising your schedule. Let’s dive into how you can master this beauty trend.
2. What Are At Home Eyelash Extensions?
At-home eyelash extensions are semi-permanent lashes you can apply by yourself using a DIY kit. These extensions are typically made from synthetic fibers, silk, or mink and are adhered to your natural lashes or lash line using specialized glue.
There are two main types of at-home lashes:
-
Cluster lashes or DIY extensions: Applied under or above your lash line.
-
Strip lashes (not true extensions): Temporary and easier to apply, but removed daily.
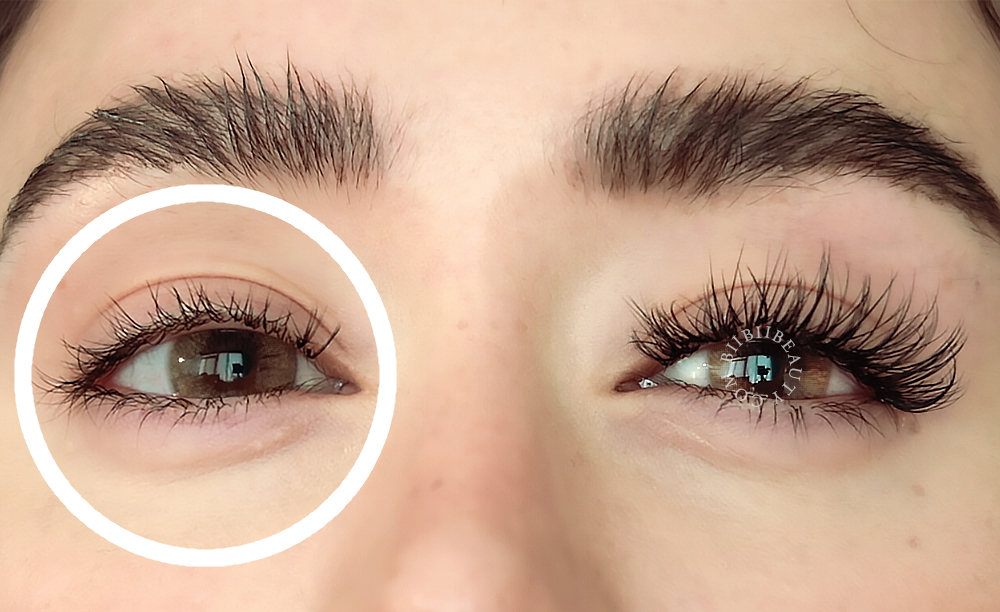
This guide focuses on semi-permanent at-home eyelash extensions, which offer longer-lasting and more natural-looking results.
>> Read more: Building a Successful Eyelash Extension Business: Complete Guide for 2025
3. Benefits of At Home Eyelash Extensions
-
✅ Cost-Effective: No more paying $100+ every 2-3 weeks.
-
✅ Convenient: Do it anytime, anywhere.
-
✅ Customizable: Choose your length, curl, and volume.
-
✅ No Appointments: Perfect for busy lifestyles.
-
✅ Comfort and Privacy: Avoid the salon environment.
4. Potential Risks to Be Aware Of
While at-home lashes are a great option, there are risks if not done properly:
-
Allergic reaction to lash glue
-
Eye irritation or infection
-
Damage to natural lashes
-
Uneven or unnatural appearance
Pro tip: Always patch test your adhesive before full application.
5. What You Need to Get Started
Here's a basic checklist for your at-home lash kit:
-
High-quality lash extensions (clusters or individuals)
-
Lash adhesive (sensitive or long-wear)
-
Tweezers or applicator tool
-
Mirror (preferably magnified)
-
Lash cleanser or primer
-
Lash bond and sealant
-
Lash remover (optional but recommended)
-
Spoolie brush
Recommended brands: Lashify, Lilac St., Flutter Habit, Kiss Falscara, Ardell DIY Lash Extensions.
6. How to Apply At Home Eyelash Extensions: Step-by-Step
Step 1: Cleanse and Prep Your Natural Lashes
Use a lash cleanser to remove any makeup, oil, or dirt. Let your lashes dry completely.
Step 2: Choose Your Lash Style
Decide on a natural, wispy, cat-eye, or dramatic look. Organize the lash clusters by length before starting.
Step 3: Apply Lash Bond or Adhesive
Apply a thin layer of bond (similar to mascara) directly on your natural lashes or the lash band. Wait 30 seconds to get tacky.
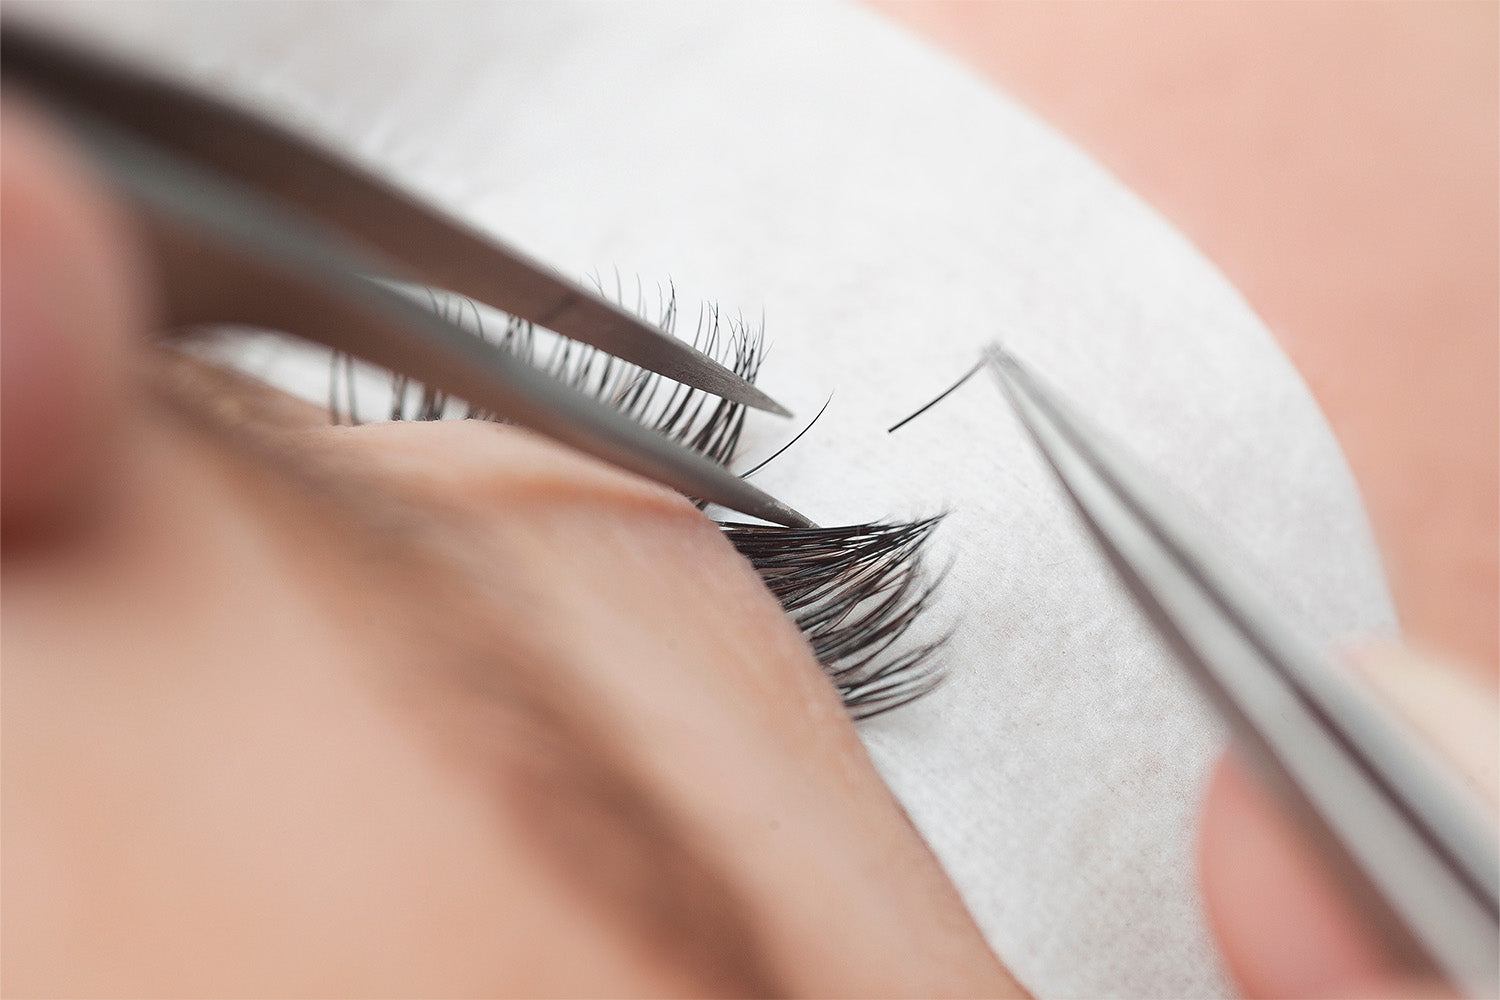
Step 4: Apply the Lash Clusters
Using tweezers, gently place the clusters underneath or on top of your natural lashes, close to the lash line but not touching the skin. Start from the outer corner and work inwards.
Step 5: Fuse and Seal
Use an applicator or tweezer to gently press the extensions into your natural lashes. Then apply a sealant to lock the bond in place.
Step 6: Let It Set
Avoid water, steam, and oil-based products for the next 24 hours.
7. Tips for a Natural and Long-Lasting Finish
-
Apply lashes in a well-lit area with a stable mirror.
-
Don’t overload lashes with glue.
-
Use a mix of lengths for a natural gradient effect.
-
Don’t apply extensions too close to the inner eye corners.
-
Comb lashes daily with a spoolie.
-
Sleep on your back if possible.
8. How Long Do At Home Eyelash Extensions Last?
Depending on the glue and care routine, your DIY extensions can last from 3 to 10 days. Some systems (like Lashify or Lilac St.) claim wear times up to 7–10 days with proper maintenance.
9. Maintenance and Aftercare
To make your at-home eyelash extensions last longer:
-
Avoid oil-based products around the eyes.
-
Do not rub your eyes.
-
Gently cleanse the lashes using a lash-safe cleanser.
-
Avoid steam, saunas, and swimming pools.
-
Reapply sealant every few days to maintain hold.
10. When and How to Remove At Home Lashes
Do not pull or peel your lashes! This can damage your natural lashes. Instead:
-
Use a gentle lash remover (usually oil-based).
-
Apply it to the lash line with a cotton swab.
-
Wait a few minutes and slide the extensions off with tweezers or fingers.
-
Cleanse your lashes afterward.
>> Read more: Lash Extension vs. Lash Lift: Which One Is Right for You?
11. Comparing At-Home vs. Salon Eyelash Extensions
| Feature | At-Home Lash Extensions | Salon Lash Extensions |
|---|---|---|
| Cost | $15–$50 per kit | $100–$250 per session |
| Time | 15–45 minutes | 1.5–2.5 hours |
| Longevity | 3–10 days | 2–4 weeks |
| Skill Level | Beginner to Intermediate | Done by a professional |
| Customization | High | Very High |
| Risk | Moderate (if instructions ignored) | Low (with trained technician) |
12. Who Should Try At Home Eyelash Extensions?
-
Busy professionals
-
Stay-at-home moms
-
Students
-
Makeup lovers
-
Those trying to save money
-
Lash extension beginners
At-home extensions are also perfect for travel, special events, or even weekly glam routines.
13. Top Mistakes to Avoid
-
Using too much glue
-
Not letting the glue get tacky
-
Applying lashes on wet lashes
-
Sleeping on your face
-
Skipping aftercare
-
Using regular eye makeup remover (contains oils)
14. Trending Styles You Can Try at Home

-
Wispy Lashes: Mimic professional hybrid sets.
-
Cat-Eye Look: Shorter inner corners, longer ends.
-
Doll Eye Effect: Longer lashes in the center.
-
Stacked Volume: Layer clusters for a volume boost.
-
Underlash Application: More natural and seamless.
15. Final Thoughts: Are At Home Eyelash Extensions Worth It?
Absolutely — if you're looking for a budget-friendly, customizable beauty solution. While there’s a slight learning curve, mastering the technique opens up a world of lash freedom. As long as you follow proper hygiene, application, and aftercare, you can enjoy stunning lashes without stepping foot in a salon.
Conclusion
At-home eyelash extensions are a beauty game-changer. With the right products, a bit of patience, and this step-by-step guide, you’re well on your way to achieving gorgeous, natural-looking lashes anytime, anywhere. Whether you're prepping for a date night, a photo shoot, or just want to wake up feeling beautiful — DIY lashes are here to elevate your everyday glam.


