
Introduction
Eyelash extensions have revolutionized the beauty industry, offering individuals the allure of longer, fuller lashes without the daily application of mascara. Whether you're a budding lash technician or someone eager to master the art at home, understanding the meticulous process is crucial. This guide delves deep into the step-by-step procedure of applying eyelash extensions, ensuring safety, precision, and stunning results.
1. Understanding Eyelash Extensions
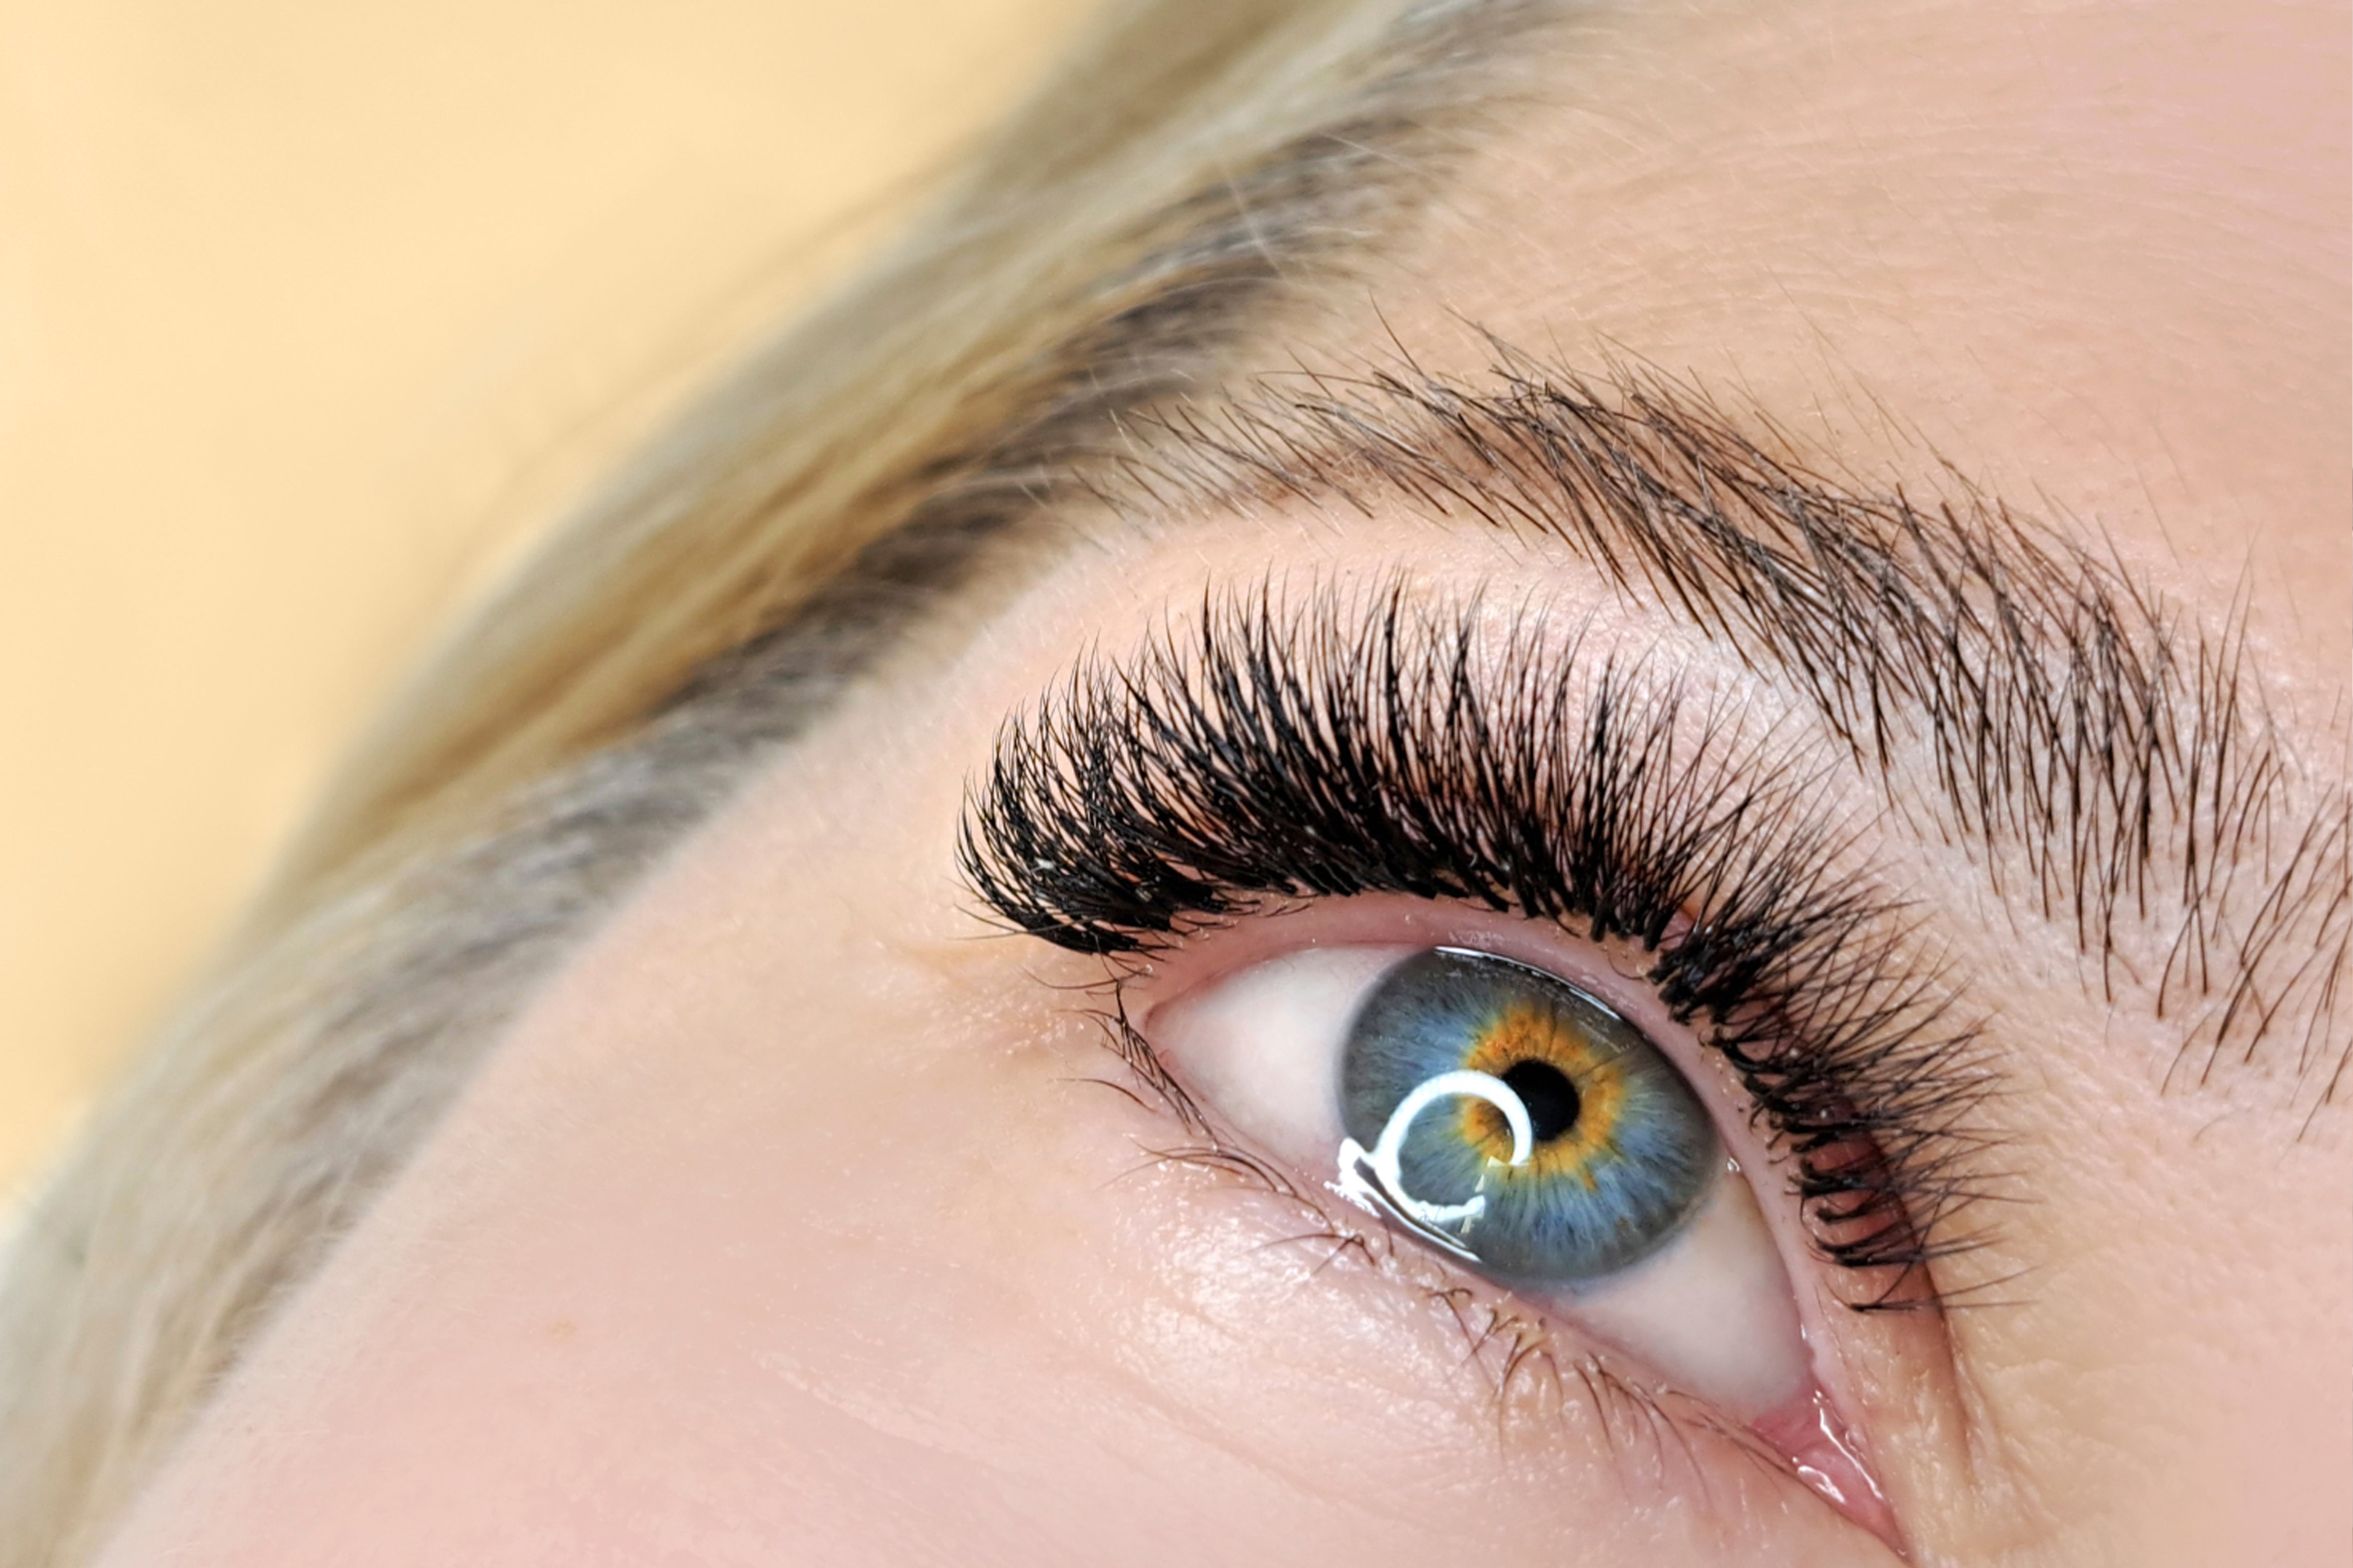
Eyelash extensions are semi-permanent fibers, typically made from synthetic, silk, or mink materials, that are individually adhered to natural lashes using a specialized adhesive. They enhance the length, curl, and volume of natural lashes, offering a more dramatic or natural look based on preference. Unlike strip lashes, extensions are applied strand by strand, ensuring a more seamless and long-lasting effect.
2. Essential Tools and Materials
Before embarking on the application process, ensure you have the following tools and materials:
-
Eyelash Extensions: Available in various lengths, curls, and thicknesses.
-
Lash Adhesive: A high-quality, fast-drying glue formulated for lash extensions.
-
Tweezers: Both isolation and application tweezers are essential.
-
Under-Eye Pads: To protect the lower lashes and skin.
-
Micropore Tape: For securing under-eye pads and adjusting eyelid position if necessary.
-
Lash Cleanser: To remove oils and residues from natural lashes.
-
Primer: Enhances adhesive bonding.
-
Nano Mister: Helps cure the adhesive and reduce potential irritation.
-
Lash Brushes/Spoolies: For grooming and separating lashes.
-
Lash Palette or Tile: Organizes lash extensions for easy access.
>> Read more: Lash Extension vs. Lash Lift: Which One Is Right for You?
3. Pre-Application Preparations
Proper preparation ensures a smooth application process and optimal results.
-
Consultation: Discuss desired lash style, length, and curl with the client.
-
Allergy Test: Conduct a patch test 24-48 hours prior to application to rule out allergic reactions.
-
Environment: Ensure the workspace is clean, well-lit, and free from drafts or humidity fluctuations.
4. Step-by-Step Application Process
4.1 Cleansing the Natural Lashes
Begin by thoroughly cleansing the client's natural lashes to remove oils, makeup, and debris. Use a gentle, oil-free lash cleanser and a lint-free applicator. This step is crucial for optimal adhesive bonding.
4.2 Applying Under-Eye Pads and Tape
Place under-eye pads approximately 1-2 mm below the lower lash line, ensuring all lower lashes are covered. Secure with micropore tape if necessary. This protects the lower lashes and provides a contrasting background for better visibility4.3 Lash Mapping and Styling
Lash mapping involves planning the placement of various lash lengths and curls to achieve the desired look. Use a fine-tip pen to mark the under-eye pads, indicating where each lash type will be applied. Common styles include:
Natural: Mimics the natural lash pattern.
-
Doll Eye: Longer lashes in the center for a wide-eyed effect.
-
Cat Eye: Longer lashes towards the outer corners for a sultry look.
4.4 Priming the Lashes
Apply a small amount of primer to the natural lashes using a microbrush. This removes residual oils and enhances the adhesive's bonding capability. Allow the primer to dry for a few seconds before proceeding.
4.5 Isolating the Natural Lashes
Using isolation tweezers, gently separate a single natural lash from its neighbors. Proper isolation ensures that each extension adheres to only one natural lash, preventing clumping and promoting healthy lash growth.
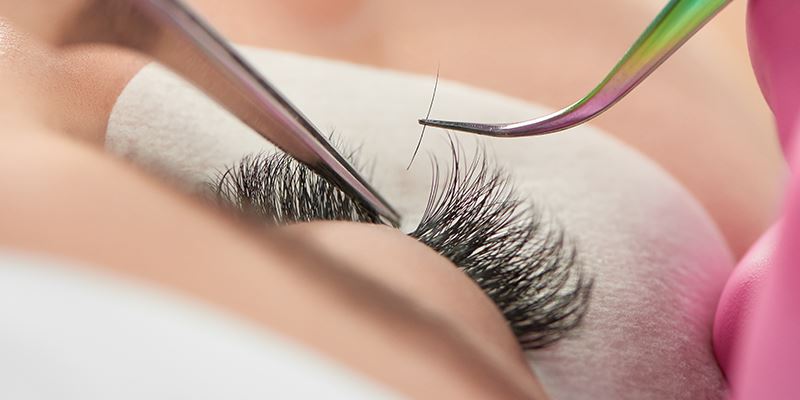
4.6 Applying the Extensions
-
Pick Up the Extension: Using application tweezers, pick up an extension from the lash palette.
-
Dip in Adhesive: Dip the base of the extension into the adhesive, ensuring a small bead forms.
-
Apply to Natural Lash: Place the extension approximately 0.5-1 mm from the eyelid, adhering it to the isolated natural lash. Hold for a few seconds to allow the adhesive to bond.Repeat this process, alternating between eyes every few lashes to prevent strain and ensure symmetry.
4.7 Drying and Curing
Once all extensions are applied, use a nano mister to lightly mist the lashes. This aids in curing the adhesive and reduces potential irritation. Allow the lashes to dry for a few minutes before proceeding.
4.8 Final Checks and Adjustments
-
Separation: Use tweezers to gently separate any lashes that may have adhered together.
-
Brushing: Gently brush through the lashes with a spoolie to ensure uniformity and remove any loose extensions.
-
Removal of Pads and Tape: Carefully remove under-eye pads and tape, ensuring the client remains comfortable.
5. Post-Application Care

Educate the client on proper aftercare to prolong the life of their extensions:
-
Avoid Water and Steam: For the first 24-48 hours, avoid exposing lashes to water or steam.
-
No Oil-Based Products: Oil can weaken the adhesive bond.
-
Gentle Cleansing: Use a lash-approved cleanser and avoid rubbing the eyes.
-
Regular Brushing: Gently brush lashes daily to maintain their appearance.
-
Scheduled Fills: Recommend touch-ups every 2-3 weeks to maintain fullness.
6. Common Mistakes to Avoid
-
Using Excessive Adhesive: Too much glue can cause clumping and discomfort.
-
Poor Isolation: Failing to isolate natural lashes can lead to multiple lashes sticking together.
-
Incorrect Placement: Placing extensions too close to the eyelid can cause irritation.
-
Skipping Lash Mapping: Without a plan, the final look may appear uneven or unnatural7. Conclusion
Mastering the art of eyelash extension application requires patience, precision, and practice. By following this comprehensive guide, you can achieve stunning, long-lasting results that enhance natural beauty. Whether you're pursuing a career in lash artistry or simply exploring a new skill, dedication to technique and client care will set you apart in the world of eyelash extensions.


