
Below is a comprehensive SEO-friendly article for the title "How to Apply DIY Eyelash Extensions at Home Like a Pro". This article is crafted to be detailed and clear, incorporating the main keyword DIY eyelash extensions throughout the text to help boost your rankings and attract readers looking for professional home application tips.
How to Apply DIY Eyelash Extensions at Home Like a Pro
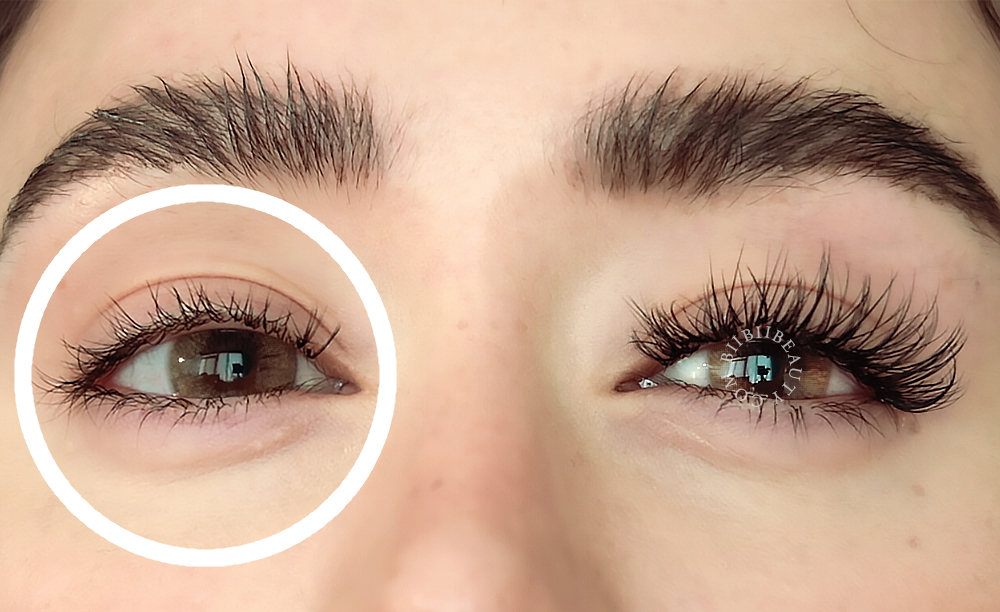
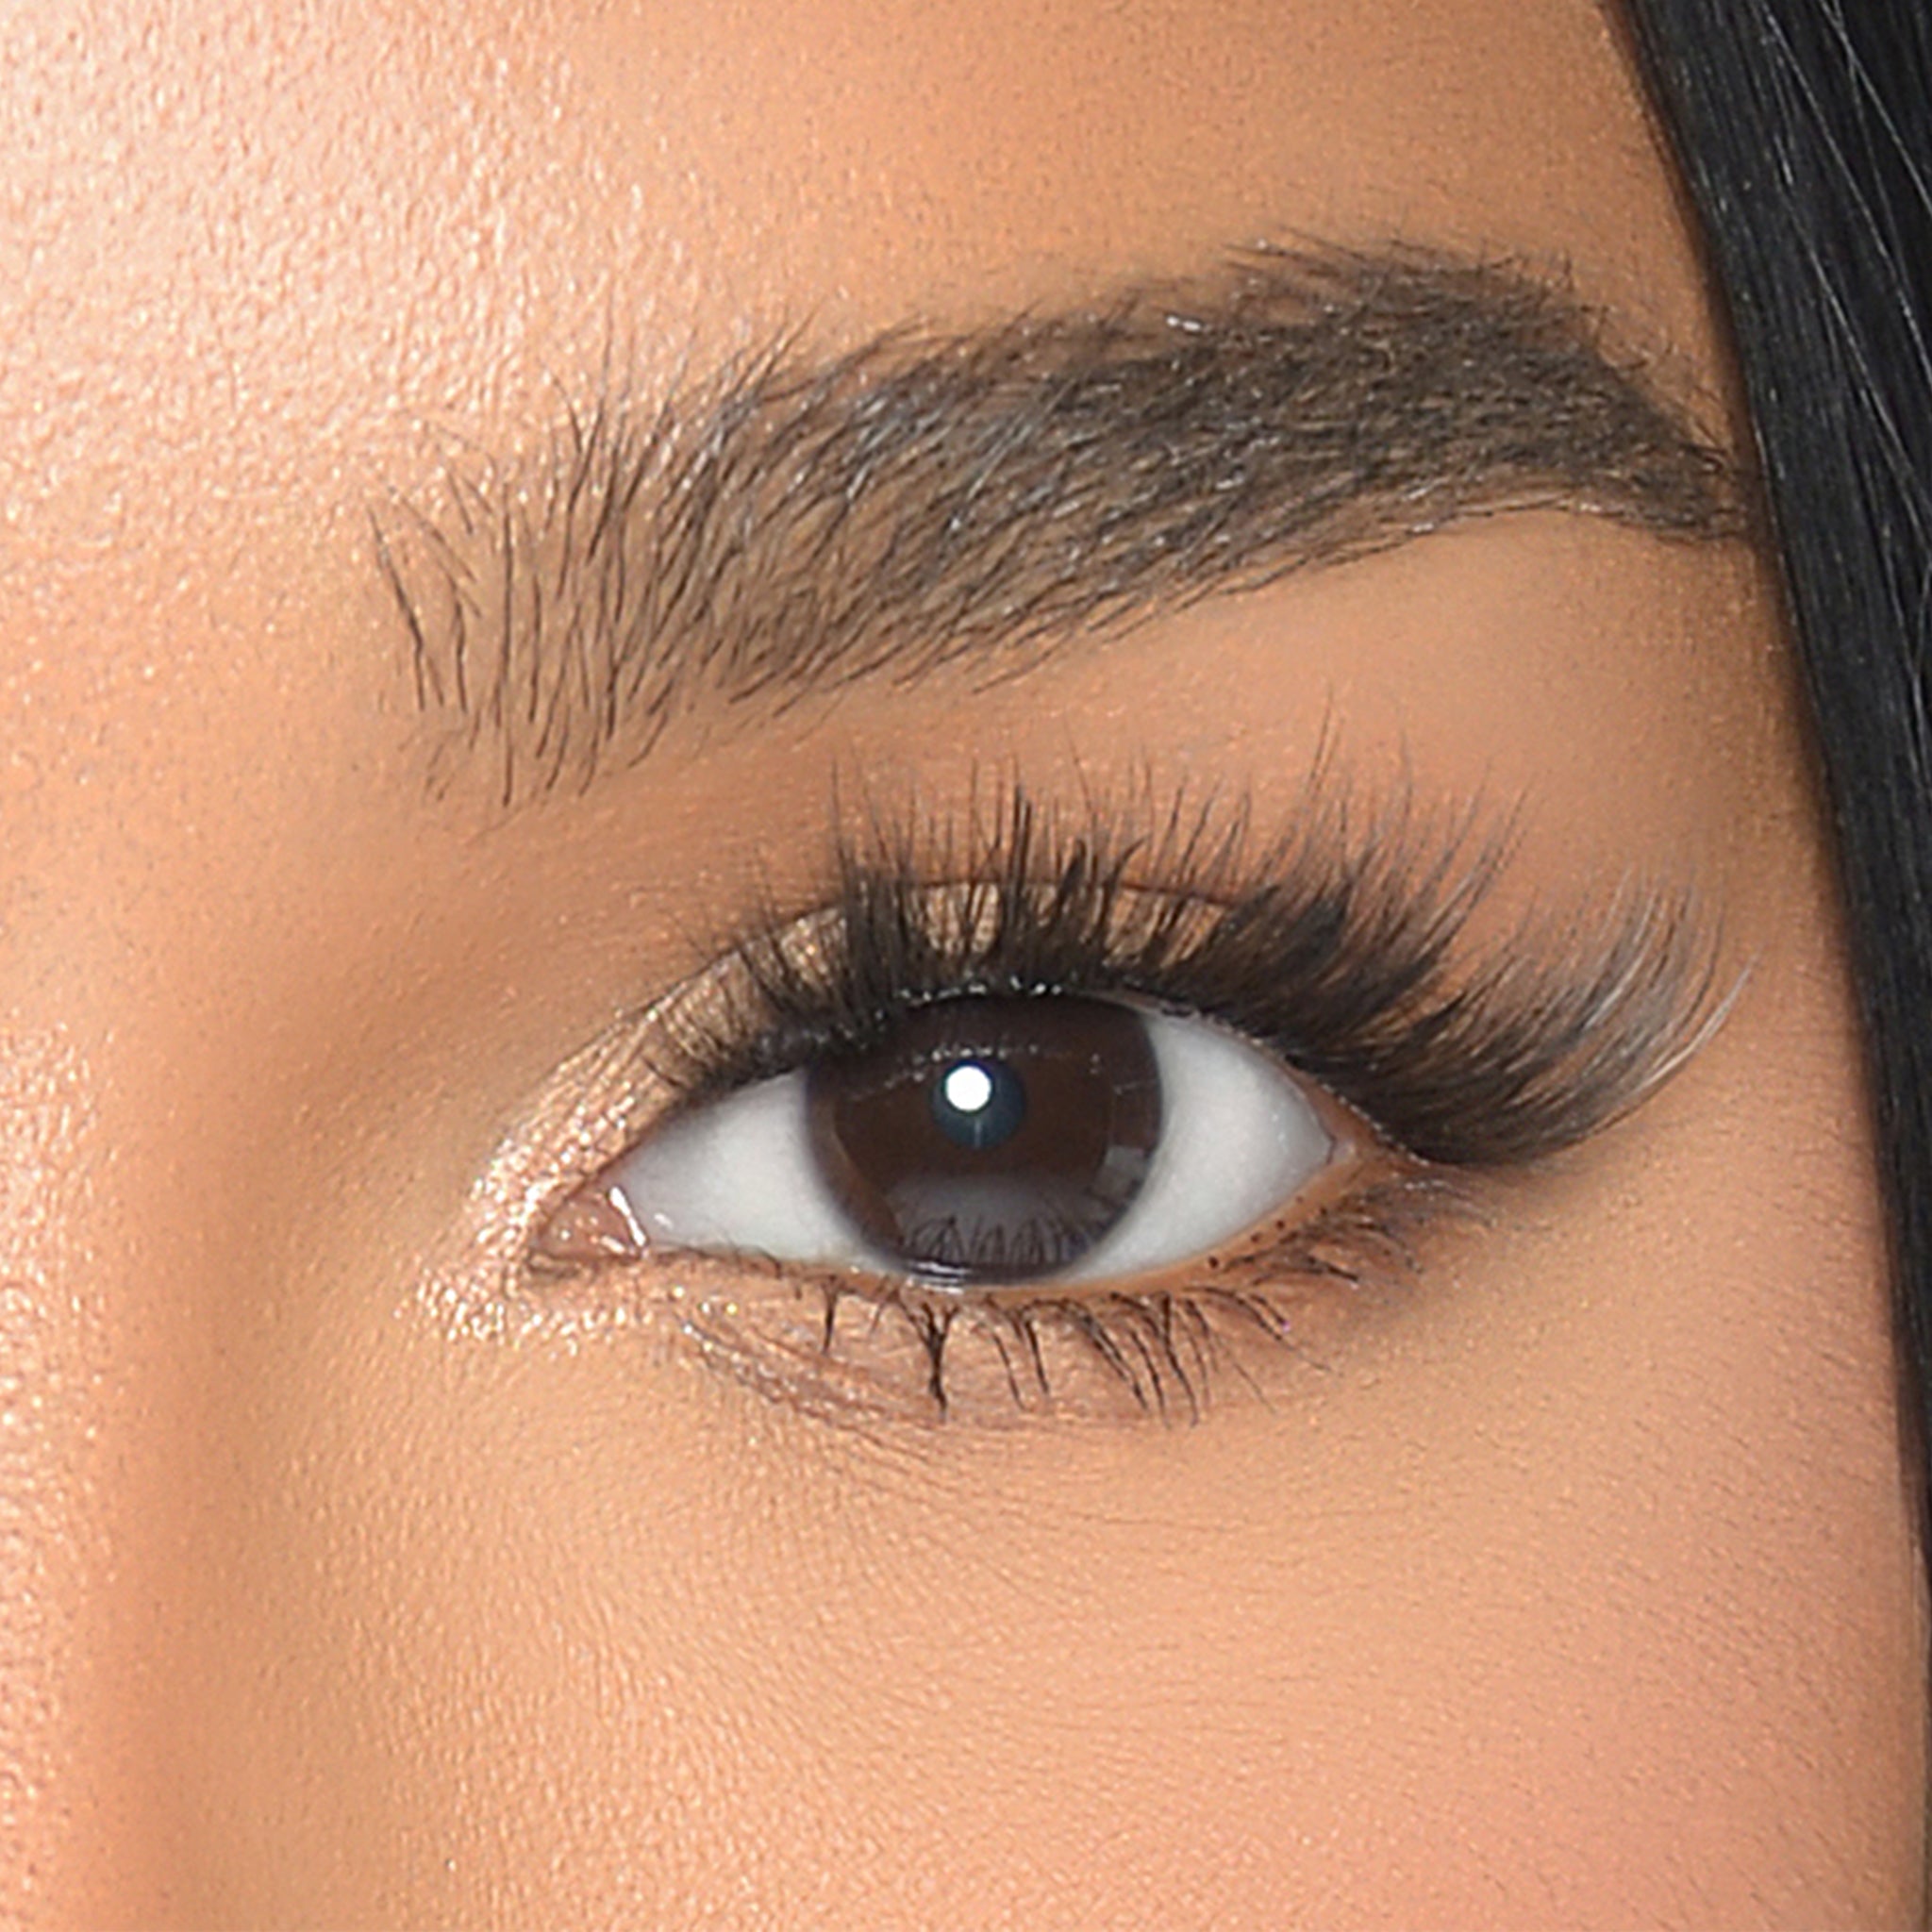
In today’s fast-paced world, more beauty enthusiasts are turning to DIY eyelash extensions for an affordable and convenient way to achieve glamorous lashes without stepping into a salon. If you’ve ever wondered how to apply DIY eyelash extensions at home like a pro, this guide will provide you with step-by-step instructions, professional tips, and insider secrets to ensure your lashes look flawless every time.
Introduction: Why Choose DIY Eyelash Extensions?
DIY eyelash extensions are quickly gaining popularity among beauty lovers who seek a budget-friendly and flexible alternative to professional salon services. Not only do they offer instant glam, but practicing the art of DIY eyelash extensions also allows you to master your technique at your own pace. With the proper tools and some expert advice, anyone can confidently apply DIY eyelash extensions at home.
Essential Tools and Supplies for DIY Eyelash Extensions

Before you get started, you’ll need to gather all necessary supplies. Having the right tools is crucial when practicing DIY eyelash extensions. Here’s a list of must-have items:
-
High-Quality Eyelash Glue: Look for a glue that dries clear and is safe for sensitive eyes.
-
Eyelash Extensions: Choose the style and length that suits your desired look—opt for classic extensions for a natural finish or volume lashes if you want extra drama.
-
Precision Tweezers: A pair of tweezers is essential for carefully picking up each lash extension.
-
Under-Eye Pads: These help isolate the upper lashes, ensuring a smoother application.
-
Microscopic Brush or Applicator: For applying a small amount of glue, ensuring precision when working with DIY eyelash extensions.
-
Cleanser and Oil-Free Makeup Remover: Use these for safely removing any makeup residues and keeping the area clean for repeated application.
Having these tools ready sets the stage for success in your DIY eyelash extensions journey.
>> Read More: 7 Secrets to the Most Natural Eyelash Extensions Revealed
Step-by-Step Guide to Applying DIY Eyelash Extensions Like a Pro
Step 1: Preparation
Proper preparation is key to flawless DIY eyelash extensions. Begin by thoroughly cleansing your face and eyes to eliminate any oils or residue that could affect the glue’s performance. Apply under-eye pads to protect your skin and to expose your natural lashes clearly.
Step 2: Organize Your Workstation
Arrange all your tools within easy reach. Good lighting is essential—consider setting up near a window or using a ring light. Remember, a tidy and well-organized workspace minimizes mistakes and helps you focus on each step in the DIY eyelash extensions process.
Step 3: Dipping and Drying
Using precision tweezers, pick up one eyelash extension at a time. Dip the base lightly into a small amount of eyelash glue. It’s important to let the glue become tacky (about 5–8 seconds) before applying it. This step ensures that your DIY eyelash extensions adhere properly to your natural lashes without clumping or sliding.
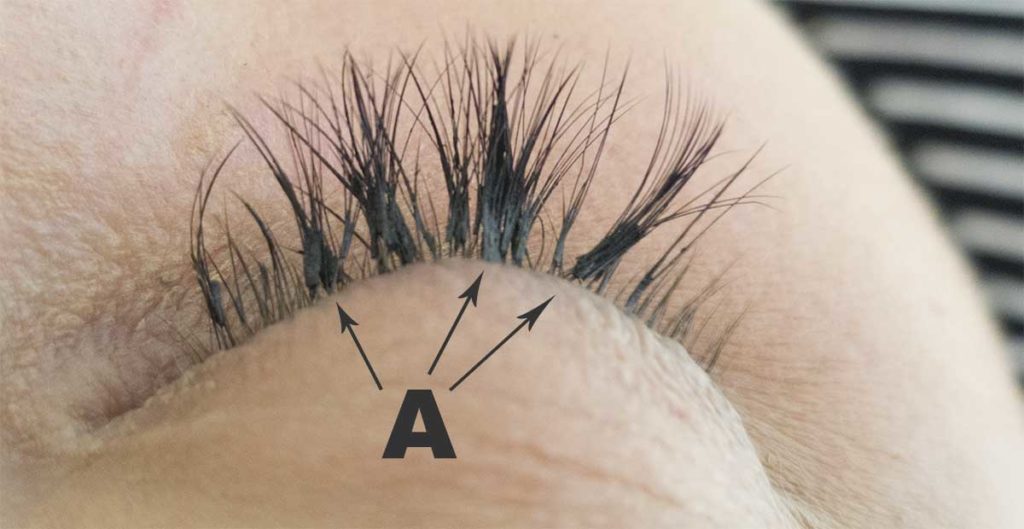
Step 4: Placement
Start at the outer corner of your lash line and work your way inward. Gently attach each extension as close to the base of your natural lash as possible. Make sure to leave a small gap (around 0.5 mm) from your eyelid to avoid irritation. Take your time during this stage—precision is critical when performing DIY eyelash extensions.
Step 5: Final Touches
Once you have applied the extensions along your entire lash line, take a step back and inspect your work. Use the microscopic brush or a clean mascara wand to separate any clumped lashes and ensure even distribution. Let your DIY eyelash extensions fully dry for at least 24 hours before exposure to water or steam to ensure maximum durability.
Pro Tips and Tricks for Perfect DIY Eyelash Extensions
-
Practice Makes Perfect: Begin by practicing on a mannequin or a friend before attempting your own DIY eyelash extensions.
-
Maintain Good Hygiene: Regularly clean your tools and workspace. This not only preserves the quality of your supplies but also minimizes the risk of eye infections.
-
Invest in High-Quality Products: Although budget-friendly options are available, investing in quality glue and extensions can make a significant difference in the final look of your DIY eyelash extensions.
-
Watch Tutorials: There are many online video tutorials and webinars that offer real-time demonstrations of applying DIY eyelash extensions.
-
Patience and Precision: Rushing the process can lead to uneven or clumped lashes. Slow down, and focus on one lash at a time to achieve a salon-quality finish.
>> Read more: How to Pick the Perfect Eyelash Extension Glue for Sensitive Eyes
Troubleshooting Common Issues with DIY Eyelash Extensions

Even the most experienced home beauticians sometimes encounter challenges with DIY eyelash extensions. Here are common issues and their solutions:
-
Lash Clumping: Ensure that the glue has reached a tacky consistency before application.
-
Poor Adhesion: Double-check that your natural lashes are clean and free from oils before starting.
-
Uneven Lashes: Use tweezers to carefully adjust any misplaced extensions, and consider re-practicing if needed.
Conclusion
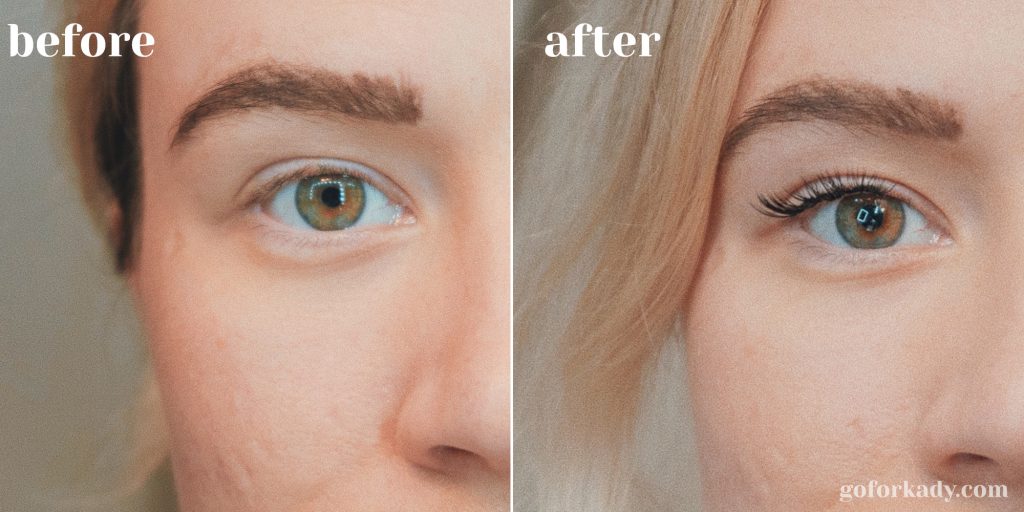
Mastering DIY eyelash extensions is all about careful preparation, patience, and continual practice. By following our detailed guide and pro tips, you can create stunning, professional-quality lashes right from the comfort of your home. Whether you’re new to the beauty world or looking to refine your skills, these step-by-step instructions will help you achieve a flawless look while saving time and money.
Embrace your creativity and get ready to wow everyone with your homemade lash artistry. Happy applying!
If you have any questions, need further tips on DIY eyelash extensions, or are looking for product recommendations, feel free to comment below or contact us directly. Em’s here to help every step of the way!


