
🌟 Introduction
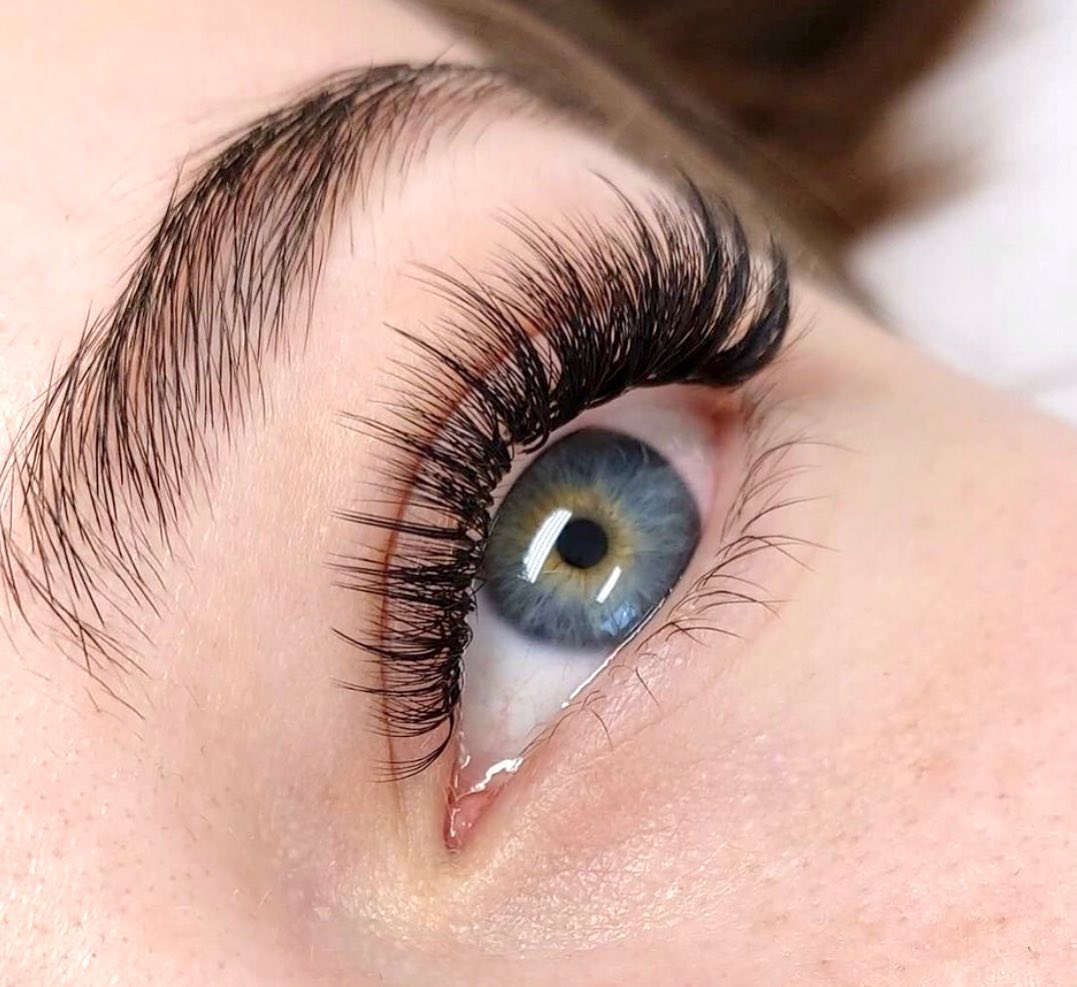
You just got your eyelash extensions done. You look in the mirror – those lashes are fluttery, full, and fabulous. But here’s the truth most people won’t tell you: the real glow-up happens after the appointment, not during it.

Welcome to your eyelash extension aftercare journey – the 4-week routine that determines whether your lashes stay curled, clean, and captivating, or end up falling out faster than your Monday motivation. But don't worry – we’ve got you covered with the ultimate week-by-week aftercare plan that even lash techs wish all their clients knew!
💧 Why Aftercare for Lash Extensions Matters
Eyelash extensions are delicate – each one is meticulously attached to your natural lashes. Without proper care, they can fall out prematurely, lose their curl, or worse – damage your natural lashes.
Here’s what great aftercare gives you:
-
Longer retention (goodbye, early fallout!)
-
Healthier natural lashes
-
Always-on glam with less makeup
-
Save time (and money!) on lash refills
📅 Week-by-Week Eyelash Extension Aftercare Routine
✅ Week 1: Let Your Lashes Settle (Golden 24–48 Hours)
-
Avoid water, steam, heat, oil. That means: No steamy showers, saunas, facials, or eye cream. Your lash glue needs time to cure completely.
-
No touching or brushing! It’s tempting, but don’t mess with them yet.
-
Sleep on your back to avoid smashing lashes into your pillow.
🧴 Pro Tip: Use an oil-free lash sealant (if recommended by your lash artist) to lock in retention.
✅ Week 2: Clean Gently, Brush Regularly
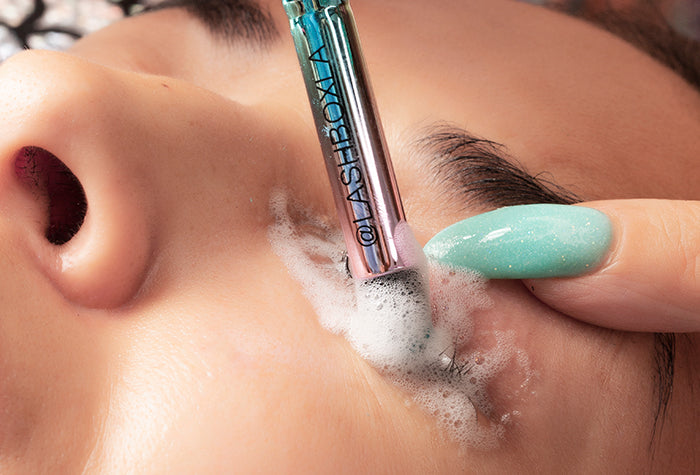
-
Start cleaning your lashes daily with a foam lash cleanser. Use a soft brush and rinse with lukewarm water.
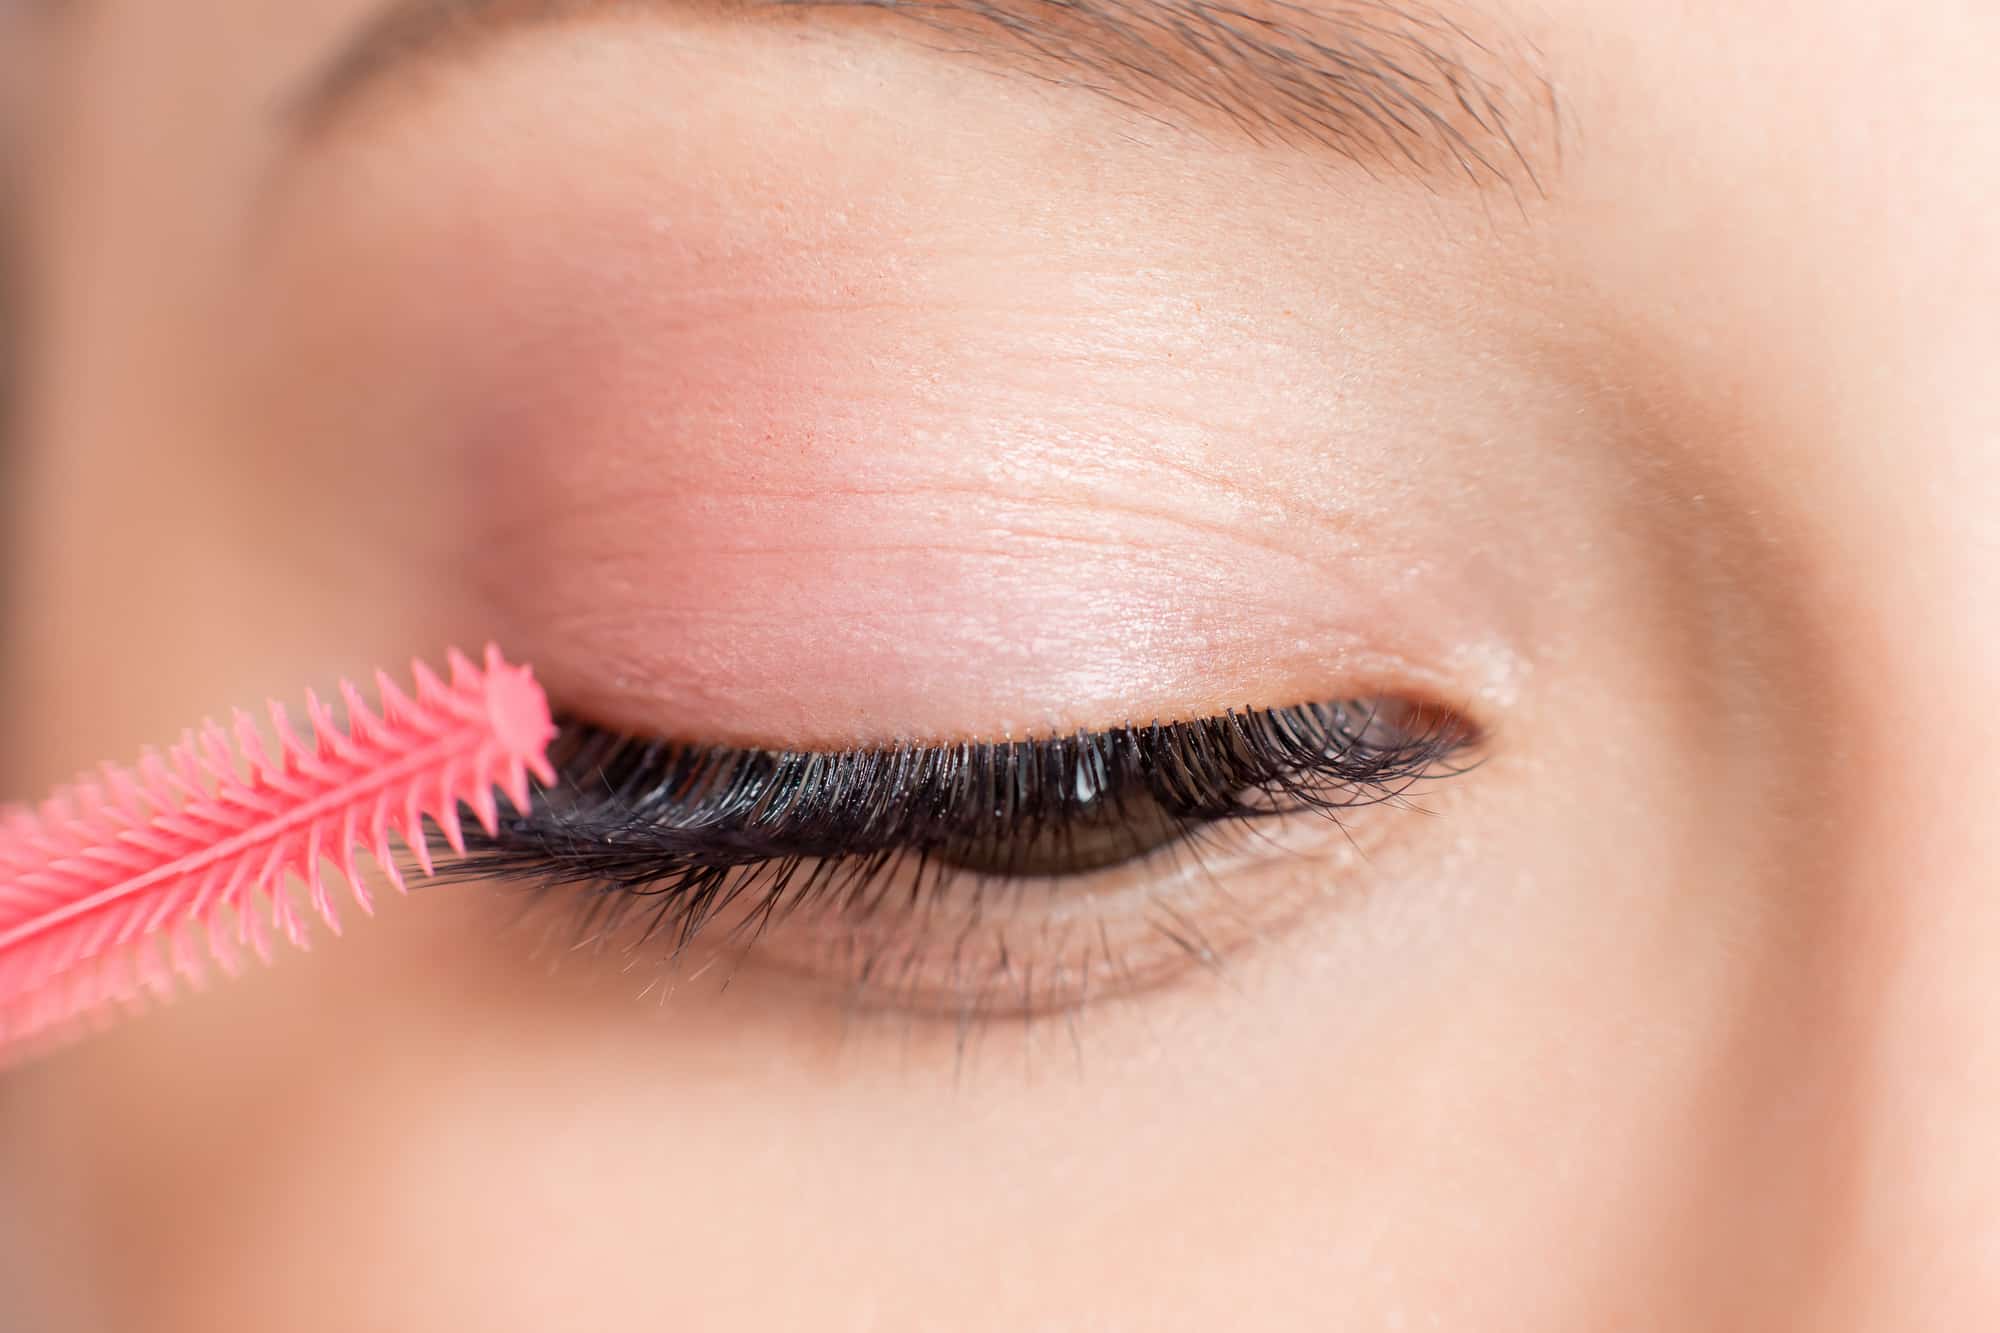
-
Brush once a day (preferably in the morning) using a clean spoolie to maintain the curl and alignment.
-
Avoid oil-based makeup removers – they break down the adhesive.
👁 Reminder: No waterproof mascara – ever. It’s the enemy of lash extensions.
✅ Week 3: Refresh & Hydrate
-
Lashes may look a little thinner now – that’s normal. Natural lash growth causes some shedding.
-
Hydrate your under-eye area carefully, using water-based gels.
-
If you’re a makeup lover, clean your eyelids more thoroughly to prevent buildup.
🛏 Quick Fix: Silk or satin pillowcases reduce lash friction while sleeping.
✅ Week 4: Time for a Refill
-
At this point, you may notice gaps. Don’t panic – it’s refill time!
-
Book your lash refill session before Week 5 for best results. Waiting too long may require a full new set.
-
Keep up the same gentle care – it’ll help your next set stay longer, too!
🔍 Common Mistakes to Avoid
-
Using cotton pads or Q-tips near your lashes (fibers snag and pull lashes)
-
Rubbing your eyes – it’s a hard habit to break, but crucial!
-
Skipping lash cleaning (bacteria + oil = lash loss + irritation)
-
Applying mascara or eyeliner too close to the lash line
🛍 Recommended Lash Aftercare Products
Looking to build your own at-home lash aftercare kit? Here’s what every lash lover needs:
-
Oil-free lash cleanser
-
Lash brush (spoolie)
-
Micellar water for eye makeup
-
Silk pillowcase
-
Gentle makeup remover wipes (non-oily)
💬 Final Thoughts: Care Now, Glam Always
Your lash extensions are more than just beauty – they’re an investment. And like any investment, they need maintenance. By following this eyelash extension aftercare routine from Week 1 to Week 4, you’ll enjoy lashes that last longer, feel lighter, and look effortlessly stunning every single day.
So don’t just wear your lashes – own them. With the right aftercare, your eyes won’t just sparkle, they’ll speak volumes.
✨ Bonus: Want More Lash Tips?
>> Read More: Elevate Your Beauty Routine with Exclusive Mink Eyelash Extensions
Sign up for our FREE Lash Lover’s Guide to get:
-
Weekly lash care reminders
-
Exclusive deals on aftercare kits
-
Access to expert lash artist Q&A


