
Introduction
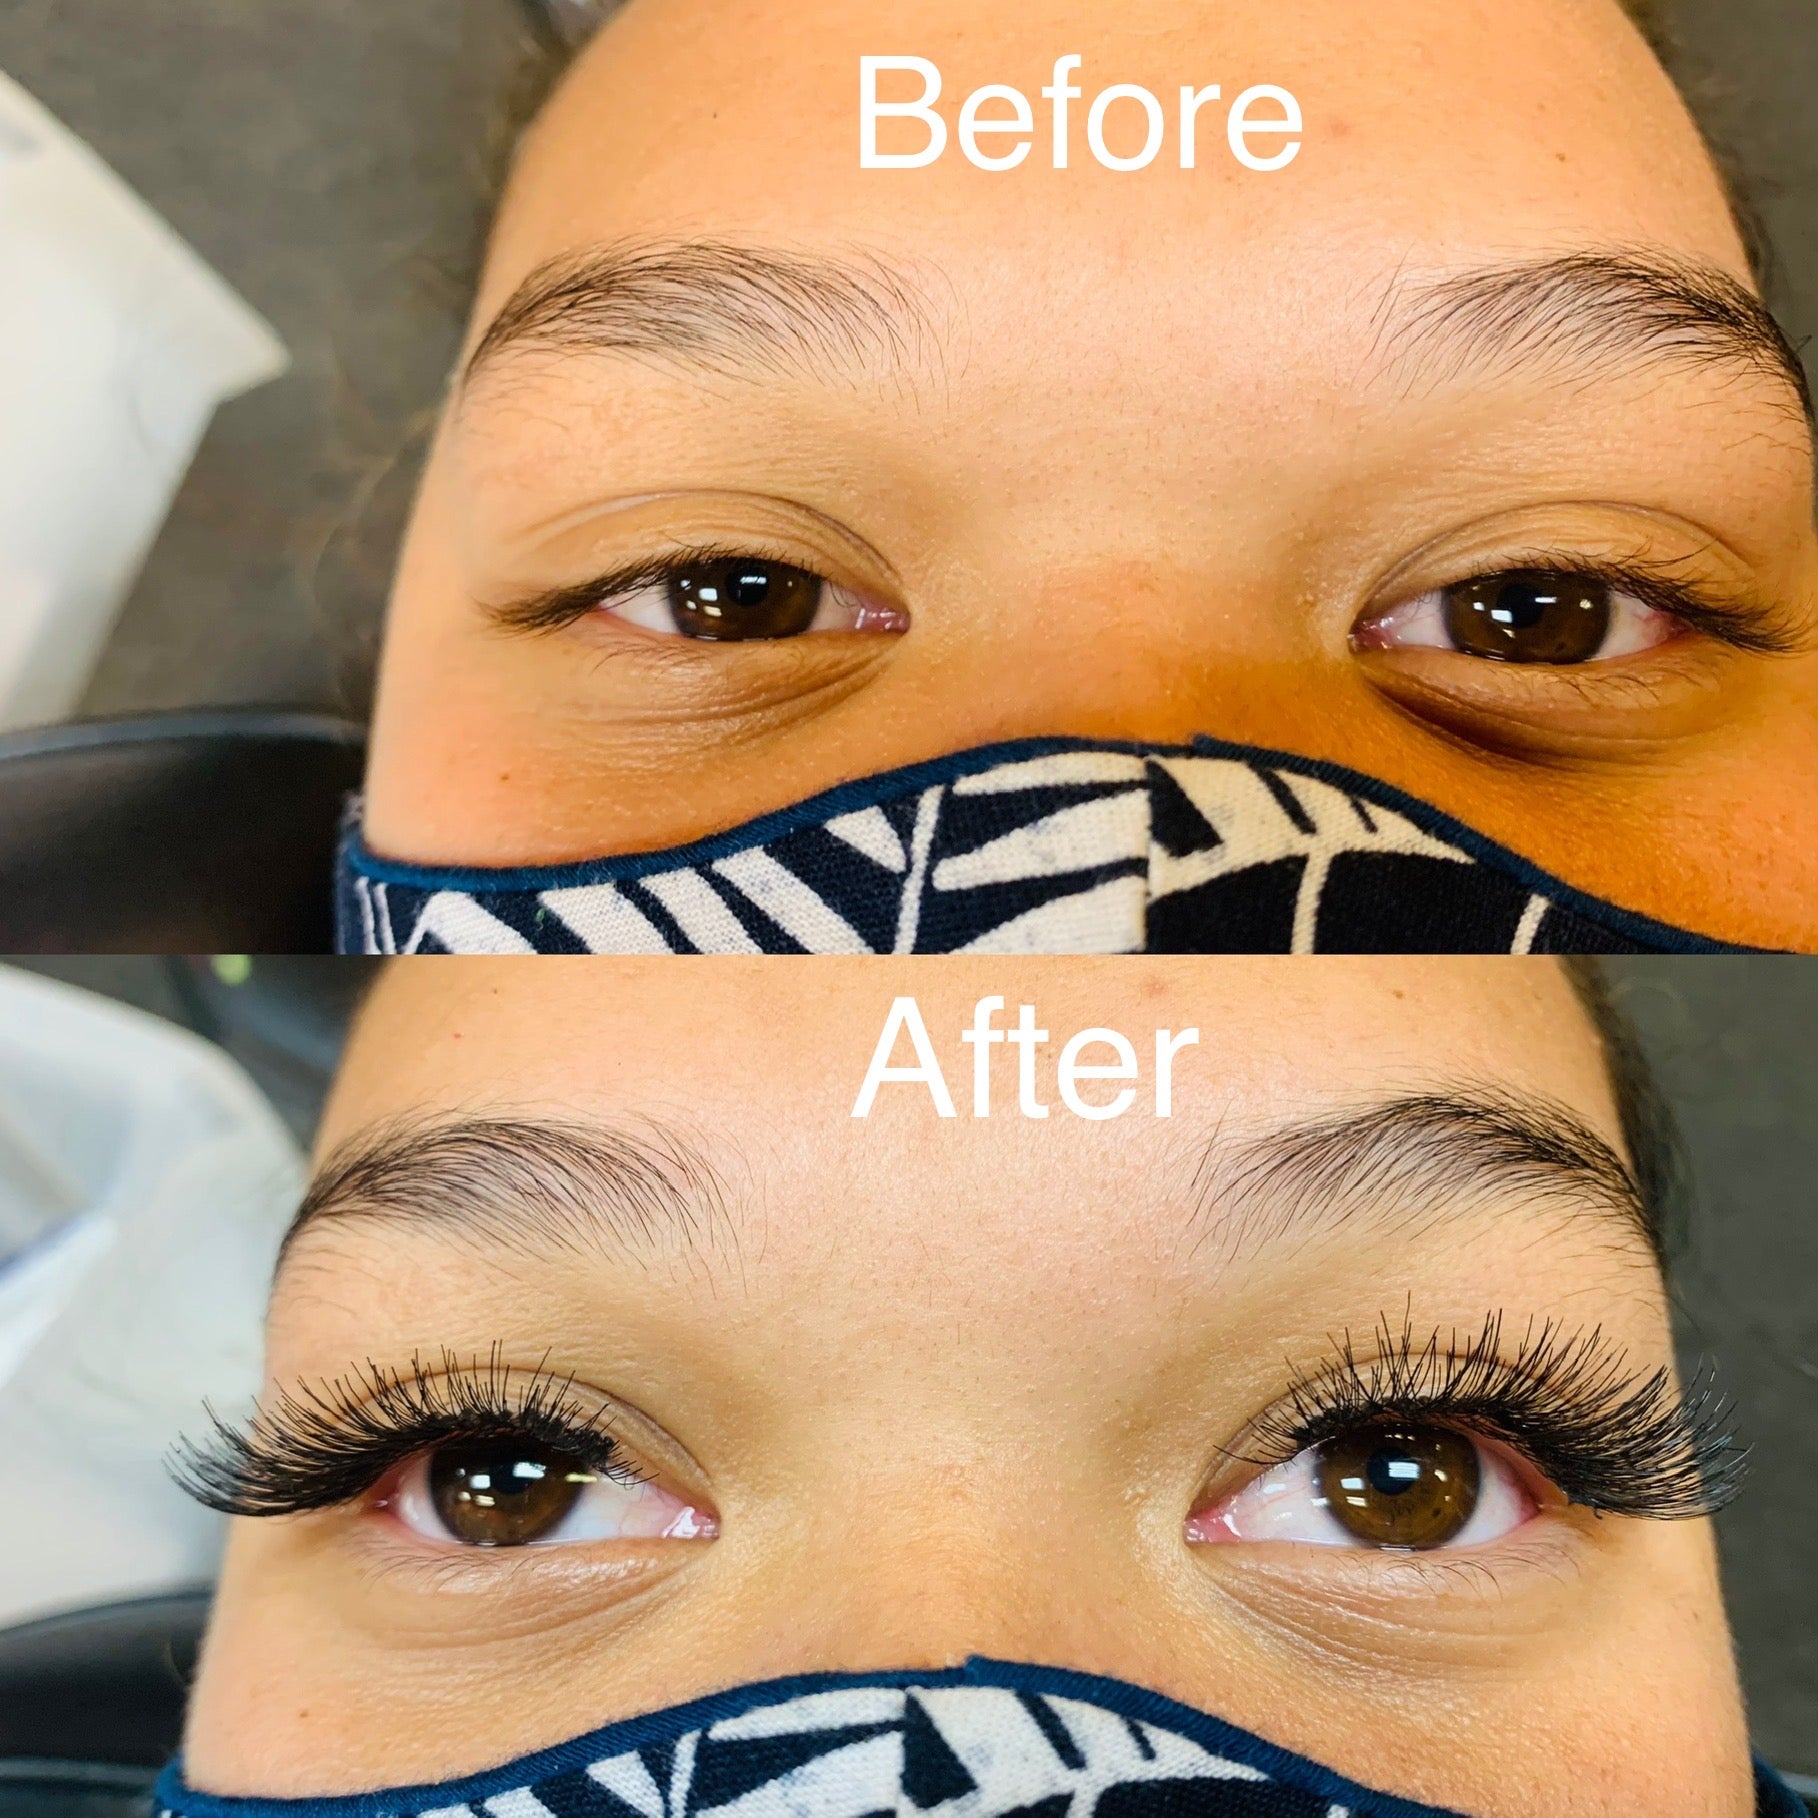
Eyelash extensions can instantly elevate your look, giving you fluttery, salon-ready lashes without the need for daily mascara. But the cost of a full set and regular refills can add up fast. The good news? You don’t need to splurge to get gorgeous lashes. With affordable eyelash extensions, you can enjoy beautiful, long-lasting results while sticking to a budget. This guide will cover:
-
What makes eyelash extensions affordable
-
Pros and cons of budget options
-
Where to look for affordable extensions
-
DIY tips and tools
-
Aftercare for longevity
-
When to splurge vs. save
Whether you're a lash veteran or exploring extensions for the first time, here’s everything you need to know to get stunning lashes affordably.
What Defines “Affordable Eyelash Extensions”?
Without compromising quality or eye safety, affordable eyelash extensions provide great value. That means:
-
Salon price under $100–150 for a full classic set
-
Refills priced between $30–60
-
Use of high-quality tools and adhesives—no toxic or harsh glues
-
Skilled technicians trained in proper technique and hygiene
Cut-rate pricing might be tempting, but cheap eyelashes and glue often lead to damage or irritation. As one specialist notes, “cheap eyelash extensions often come with inferior adhesives… can lead to allergic reactions or irritation” . Let’s dive into how to balance affordability with safety.
🛍️ 1. Where to Find Affordable Eyelash Extensions
a. Budget-Friendly Local Salons
-
Look for one-time deals or first-time client specials (e.g., $80–120 for full classic lashes).
-
Ask about memberships or refill packages—your cost per session can drop significantly.
-
Check reviews or portfolios to confirm quality work, not just bargains.
b. Beauty Schools & Training Academies

Many cosmetology schools offer very affordable eyelash extension services performed by students under supervision:
-
A full set might cost $40–70
-
Refills typically range $20–40
-
You get real product usage (quality adhesive and lashes) under a mentor’s watch
This is a great option to access salon-standard work for less.
c. Regional or Studio Specials
In less expensive cost-of-living areas, quality lash studios may offer full sets for $100–130, with refills around $40–50. The key is verifying if they use professional-grade products and sanitized tools.
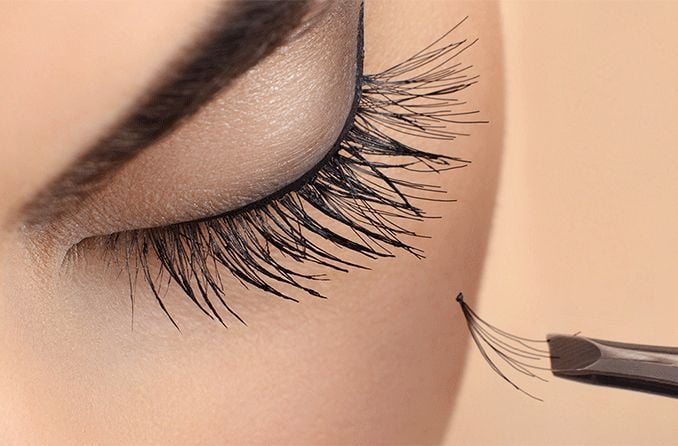
💡 2. DIY at Home: Cheap—but Requires Care
DIY lash extensions at home can be ultra-budget-friendly—kits often cost under $30. But you must proceed cautiously:
DIY pros:
-
Great for cost-saving—some report under $20 per set .
-
You control timing and styling.
-
Fosters independence—you’re not tied to salon hours.
DIY cons:
-
Risk of misuse: adhesives meant for certified technicians can harm eyes.
-
Without proper cleanliness, infection risk increases.
-
Use medical-grade glue—avoid drug-store super glues.
-
Work in well-lit space with proper tweezers and spoolies.
-
Never glue to the skin—only attach to lashes.
-
Do a 24‑hour patch test for allergic reactions.
-
Be patient—rushed glue leads to lumps and poor adhesion.
A Reddit user confirms:
“Avoid using oil-based products… use oil-free lash shampoo… Brush them daily… scheduled regular refills …heat and steam can weaken the adhesive” They also praise mini USB fans to speed drying and improve retention.
✅ 3. Balancing Cost and Quality
What You Should Never Sacrifice:
-
High-quality adhesive—cheap glue leads to poor retention and eye irritationreddit.com.
-
Proper technique—tight spacing and weighty fans harm natural lashes .
-
Clean tools—dirty tweezers and workspace increase infection risk.
What You Can Compromise On:
-
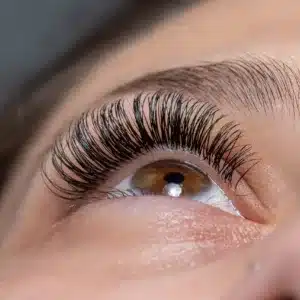
Opt for a classic full set instead of volume or mega-volume to reduce cost.
-
Choose 2D–3D volume rather than high-density volume jobs.
-
Go for basic shapes and curls rather than custom styles requiring more adhesive and time.
📊 4. Price Comparison Snapshot
| Option | Full Set Price | Refill Price | Expected Retention | Quality Risk |
|---|---|---|---|---|
| Budget Salon/Class Salon | $80–120 | $30–60 | 3–4 weeks | Low–Medium |
| Beauty School | $40–70 | $20–40 | 2–3 weeks | Medium |
| DIY Kit | $20–40 | DIY Refills | 1–2 weeks | High |
| Premium Salon (NYC etc.) | $150–300 | $60–150 | 4–6 weeks | Low |
🔎 5. How to Get the Most Out of Affordable Extensions
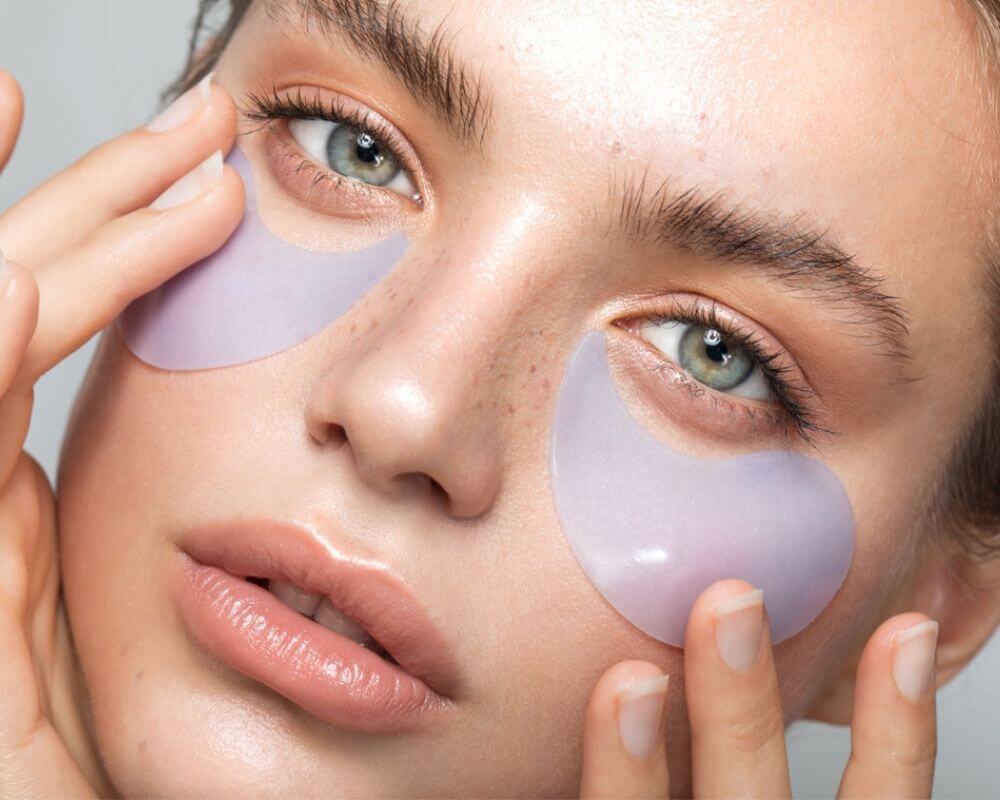
a. Strong Aftercare Routine
-
Brush lashes gently each morning to separate and maintain shape
-
Sleep on your back or side with satin pillowcases to reduce friction
-
Schedule refills every 2–3 weeks
b. Choose Safe, Affordable Lash Products
-
Opt for PBT synthetic or silk lashes, which are budget-friendly and durable.
-
Stick to reputable international brands or trusted local producers (e.g., Kimmi Lashes, Charmlash)
-
Ensure adhesives are formaldehyde-free, hypoallergenic and fast-drying.
c. Monitor Lash Health & Maintenance
-
Don’t overload fans—use 1:1 (classic) or 2D–3D volume only .
-
Avoid applying extensions too close to the eyelid—maintain a 0.5–1 mm distance
-
If experiencing irritation, get prompt removal and replacement.
🚨 6. Red Flags & Avoiding Dangerous Deals
-
Extremely Cheap – Under $50 full set? Be cautious.
-
Untrained Technicians – Verify certification and portfolio.
-
Black-Light Glue Smell – Fumes indicate low-quality adhesive.
-
No Aftercare Advice – Good salons provide guidance; cheap ones don’t.
-
Unhygienic Environment – Used tools or cluttered workspace pose contamination risks.
A professional warns: “cheap glue would require… more … removing the lashes… irritating to the skin”
🎯 7. When to Upgrade Over Budget
Affordable doesn’t always mean basic. Consider upgrading if:
-
You want longer retention without weekly touch-ups.
-
You prefer Volume or Hybrid sets.
-
You want premium lashes (mink/silk) or specialty curls.
-
You need certification-based technicians for bridal/event looks.
✍️ 8. Getting Started on a Budget
-
Start with a Classic Set at a budget salon to test.
-
Track retention—set 2–3 week reminder.
-
Evaluate technician and products—are refills consistent and tool hygiene maintained?
-
Add deluxe options slowly—like better adhesives or mild volume as budget allows.
✅ FAQ
Q: Can I mix heat-safe pillowcases and DIY glue to extend affordability?
A: Yes! Satin surfaces reduce damage, while high-quality DIY glue improves safety—just follow instructions.
Q: Are DIY lash kits dangerous for beginners?
A: They can be safe if used correctly—but beginners risk glue misuse, infection, or poor placement
Q: How long do affordable extensions really last?
A: Typically 3–4 weeks for salon sets, 1–2 weeks for DIYs—dependent on aftercare .
Q: Can I reuse lash fans from affordable sets?
A: Only if they're sterilized—better to use fresh ones to minimize infection risk.
🧵 9. Real-Life Advice from Reddit
A real-user shares retention tips:
“Absolute game-changer… drying them with a mini USB fan… went from 1-2 weeks… to 3-4!! Avoid oil-based products… Brush them daily… scheduled regular touch‑ups…” .
Another warns of cheap glue:
“Cheap eyelash glue can indeed affect the retention… lower-quality glues… may not provide a secure bond…”
🌟 Conclusion
Achieving beautiful eyelash extensions doesn’t require breaking the bank. With careful selection of affordable salons and products, proper aftercare, and smart technique, you can enjoy fluttery lashes that look and feel high-end. Balance affordability with quality—prioritize reputable adhesives and trained technicians—and your lash budget can go a long way. Here’s to gorgeous lashes and smart spending!


